
Visual Studio Database projects to Deploy Azure Synapse Pool
Side Note: Want to learn SQL or Python for free. In less then 10 minutes a day and less than an hour total? Signup for my free classes delivered daily right to your email inbox for free!

Now back to the article…
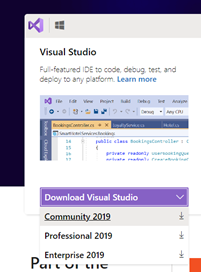
Get Visual Studio 2019
- Download and install Visual Studio 2019 Community Edition
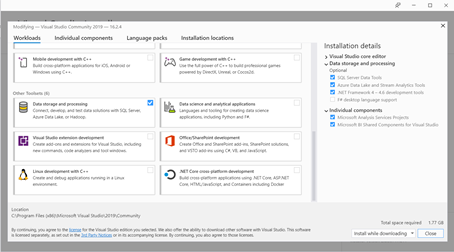
b) Verify Data Storage and Processing and make sure all updates are up to date.
Create the database project
- Create a new project in Visual Studio

- Create a new SQL Server Database project.

- To add your first item, select from the new solution and select Add->New Item
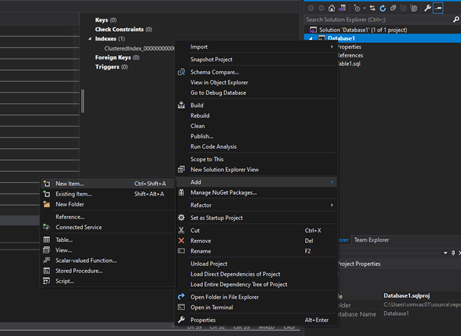
- From the list of items, select “Table (Data Warehouse) as this will allow for slightly different create table statements with columnstore indexes.

- Add your code to the editor. Some items may still show an error but it will not be an issue. Save when ready.

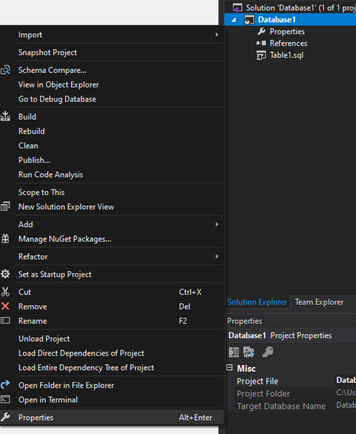
Update the Target Platform
- Right click the solution and select properties
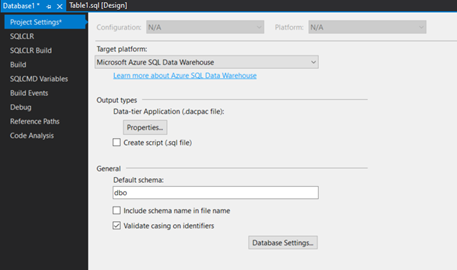
- Set the Target Platform to Microsoft Azure SQL Data Warehouse and save
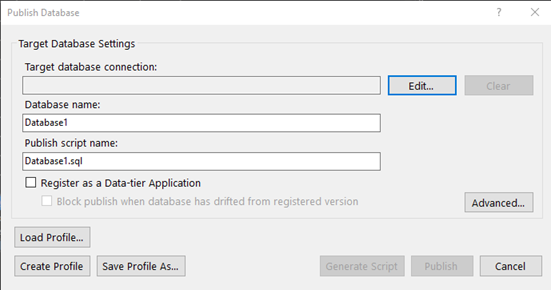
Publishing Changes to Server
- Right click the project in solutions explorer and select “Publish”
- Select the Azure SQL Data warehouse as the target database platform and select “Publish”
Visual Studio Database projects to Deploy Azure Synapse Pool