
This feature is in preview at time of writing and may be subject to change. Here is a quick guide on how to Use Azure Blob Storage Gen2 for SFTP for cheap serverless SFTP. Step by step guide on setup and access. By using local users, this allows you to create a series of SSH users and passwords for segmented folders and control access to your SFTP file storage.
Use Azure Blob Storage for SFTP
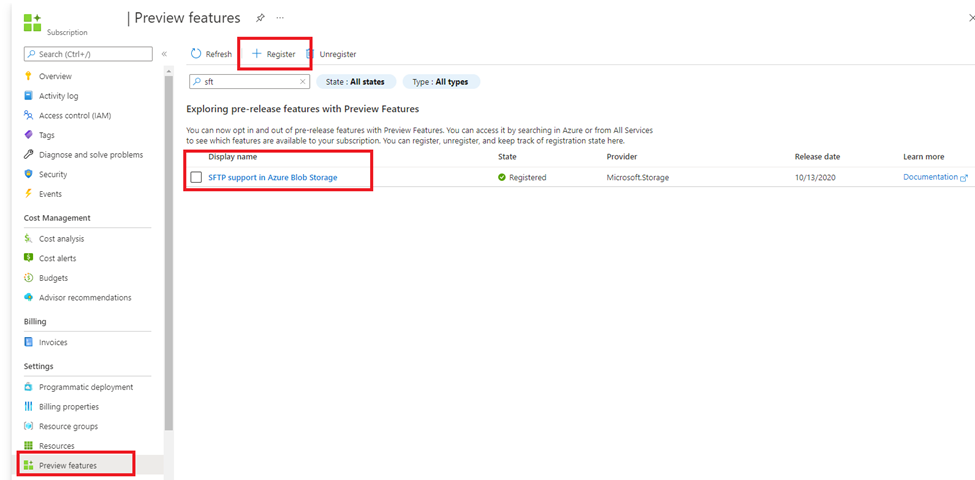
- Navigate to Subscriptions and select the subscription you want to activate the SFTP features against

- Select “Preview Features” and then search for “SFTP”. Select “SFTP support in Azure Blob Storage and click Register.
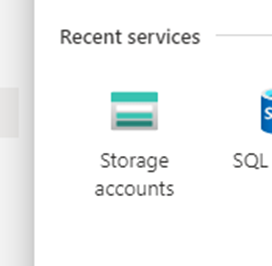
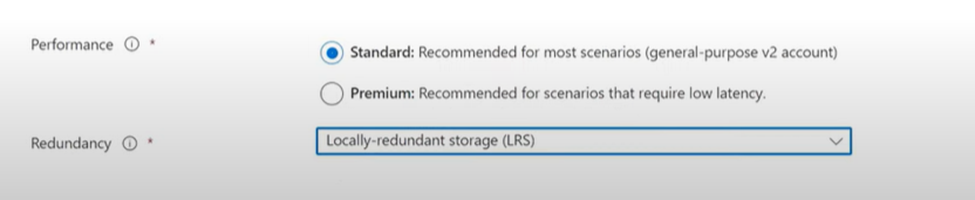
- Create a new Gen2 storage account in Azure. Use any name you need and set as Standard.
- Under advanced setting you must Enable hierarchical namespace in the storage settings as well as Enable SFTP.

Setup SFTP in Azure Blob Storage
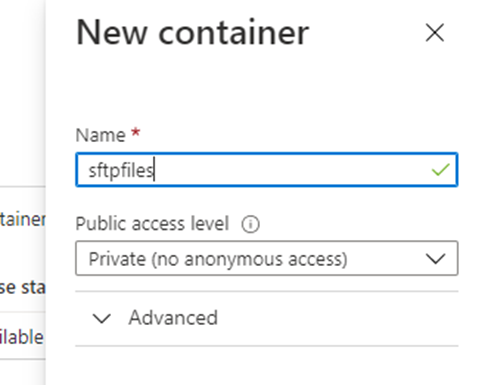
- In your storage, create a new container.
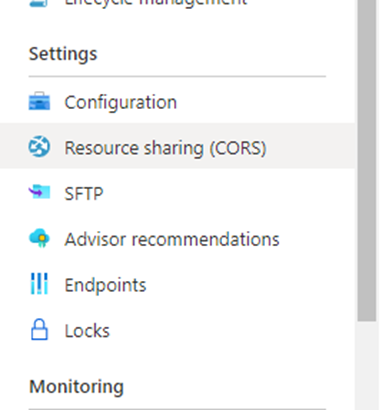
- Under Settings you now should have a SFTP option to navigate too.
- Create a new local user and select “SSH Password”
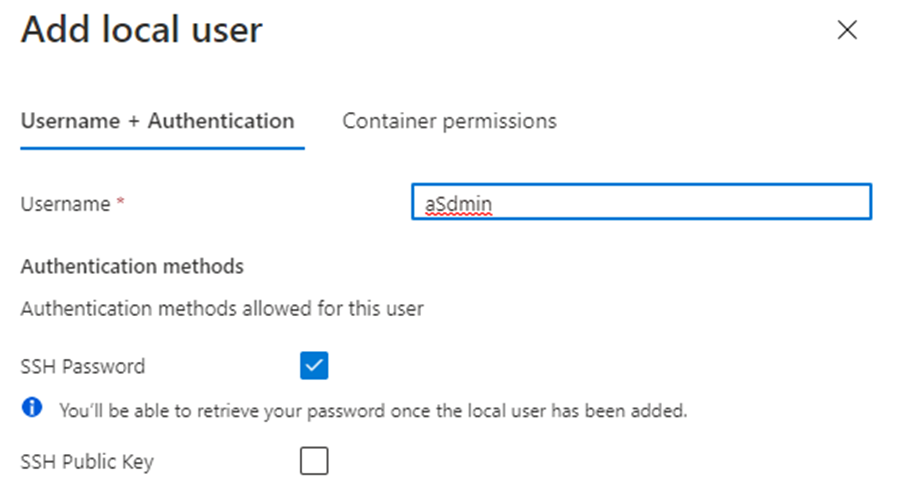
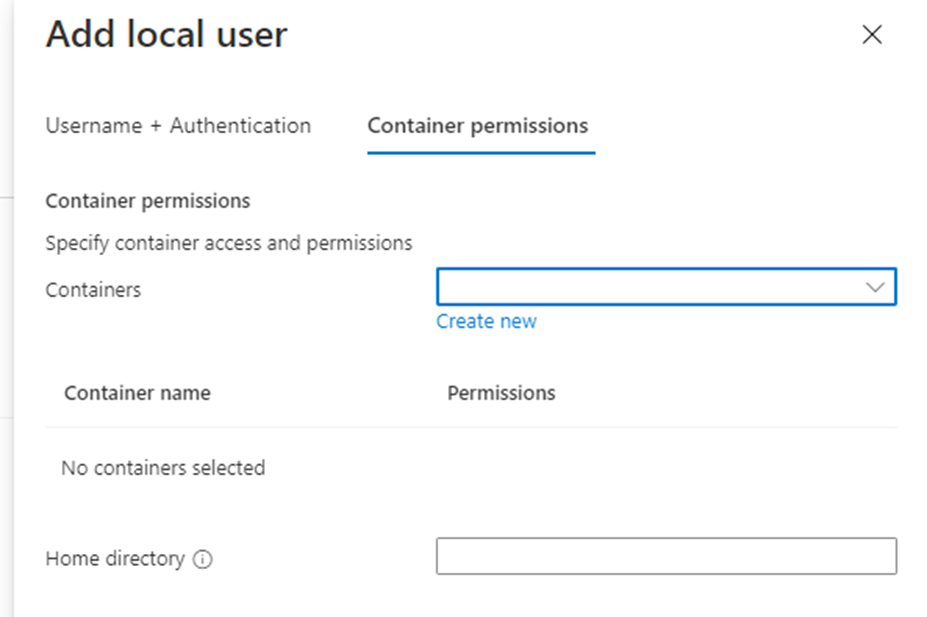
- Next give this user the correct permissions to the containers and folders. Once completed the password will be shared with you.
Connect to Azure SFTP in Cleint
- Open a SFTP tool such as WinSCP or FileZilla
- For the host name enter the blob storage name, and user name and password from the previous steps.
- storagename.blob.core.windows.net
- Hit connect. You may be prompted for approval of a key. Once you accept, you should now have access to the SFTP on blob storage!

For more information be sure to check out the rest of this blog for azure tips and tricks and business intelligence tutorials. Azure belongs to the Microsoft suite of products and for more details please see the portal site on Microsoft’s documentation.