
The biggest draw to using something like Flutter for application development is that you only require once code base and the ability to deploy to both Android and IOS. I originally got set up on my PC but then realized I was not utilizing the full capability of the tool. I ended up purchasing an old MacBook Pro (2012 edition) since it was the oldest version that could run Mojave and Xcode and kept my initial investment cost low. Setting up Flutter on a Mac and its dependencies seems a bit more complications so I went through a few online tutorials and stitched a successful installation together. Below are the steps needed for anyone else in the same boat as I am. Don’t worry, it is not too bad once you have the right steps.
- Download and install all the necessary tools and applications to your computer.
a. Android Studio for Mac
b. Xcode from the App store
c. Flutter from Google (https://flutter.io). Remember where you have unzipped the Flutter files. I placed them under my “documents/src/flutter” and will use that path for the rest of the tutorial.
d. Homebrew (brew.sh) - Launch Terminal and navigate to the folder of where you unzipped the files in step 1c.
- Type “pwd” to get the present working directory. For me it appeared as “/Users/vimalvachhani/documents/src/flutter”

- Type in the command “export PATH=”/Users/vimalvachhani/documents/src/flutter/bin:$PATH”. But this only creates a tempory entry. Let’s go create a permanent entry instead so you can skip this step other time.
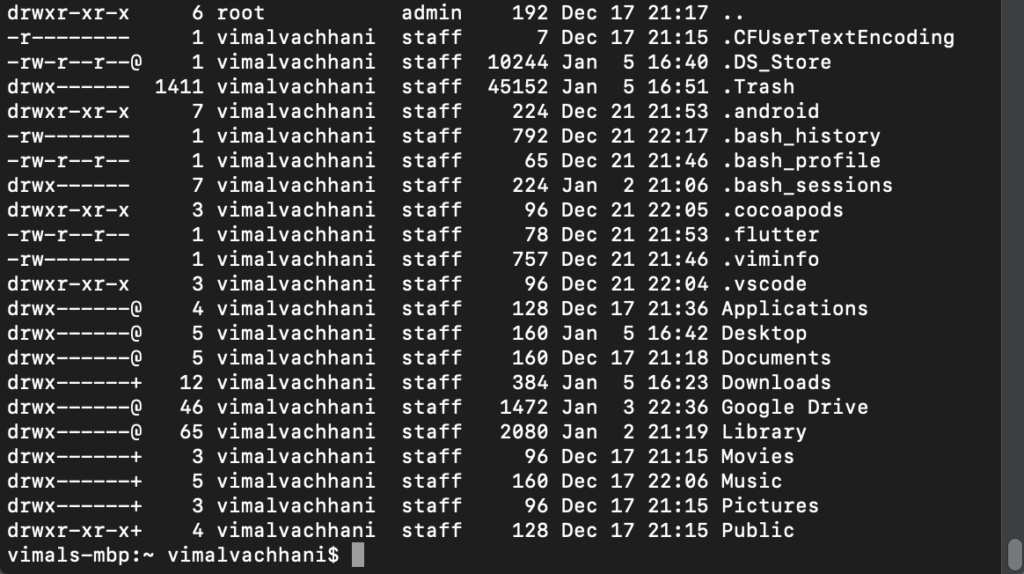
- Navigate to “.bash_profile” by going to your root directory. Type “cd” over and over until your at the root folder. They type “ls -la” to show the files. We are looking for a file called “.bash_profile” but in my case, it did not exist. If it is not, use a text editor to create the file to get started using “vim” or other tools.
- In the file now copy and paste the command “export PATH=”/Users/vimalvachhani/documents/src/flutter/bin:$PATH” and save the file.
- Back in the terminal, type the words “flut” and hit the tab key. If it auto-populates to “flutter” we are in good shape. If not check the above steps to make sure you got everything correct. If you ever move your flutter directory, you will need to update this path.
- Verify Xcode and Android studio are set up from step one and in a terminal run the command “Flutter Doctor”. The issues you get here will vary a bit but the tool does a great job of listing all the commands you will need to run to fix them pretty easily.

That should be it! You will need to set up a simulator but in the next tutorial, we will walk through setting up VS Code to build your apps!