In the previous post, we discussed how to set up Flutter on a Mac. So lets now quickly go over how to now we will look at setting up Visual Studio Code and creating your first Flutter app
- We will first need to set up the necessary extensions. Click on the icon below located on the right-hand side and install the following extensions.
a.Flutter b . Dart - Create a new empty folder and then open it in Visual Studio Code
- Create a new flutter project by opening Terminal and Navigate to the folder you created. Here is the starter location for my No0Days app.

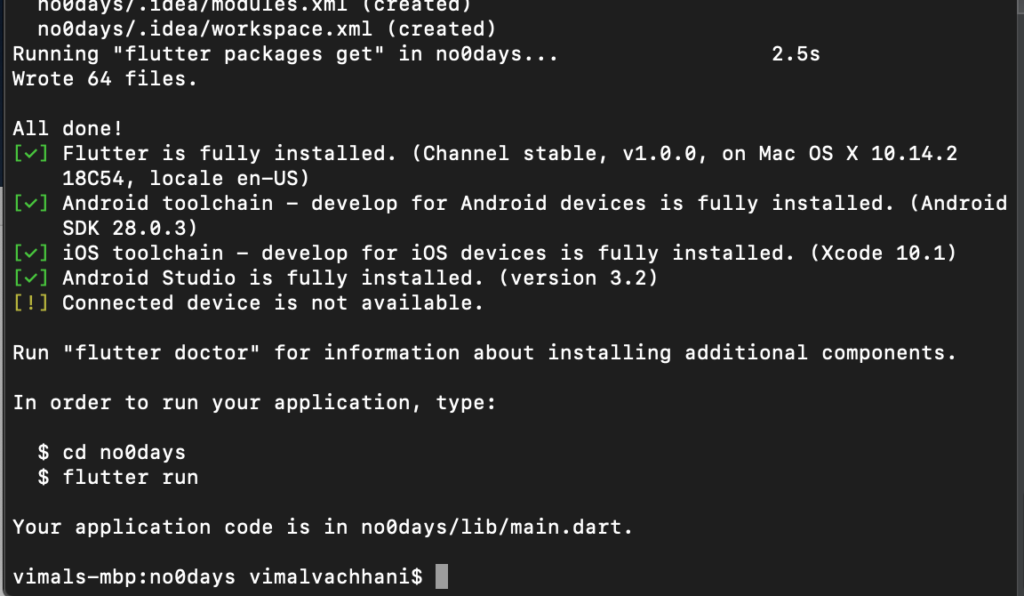
- Run the command “flutter create
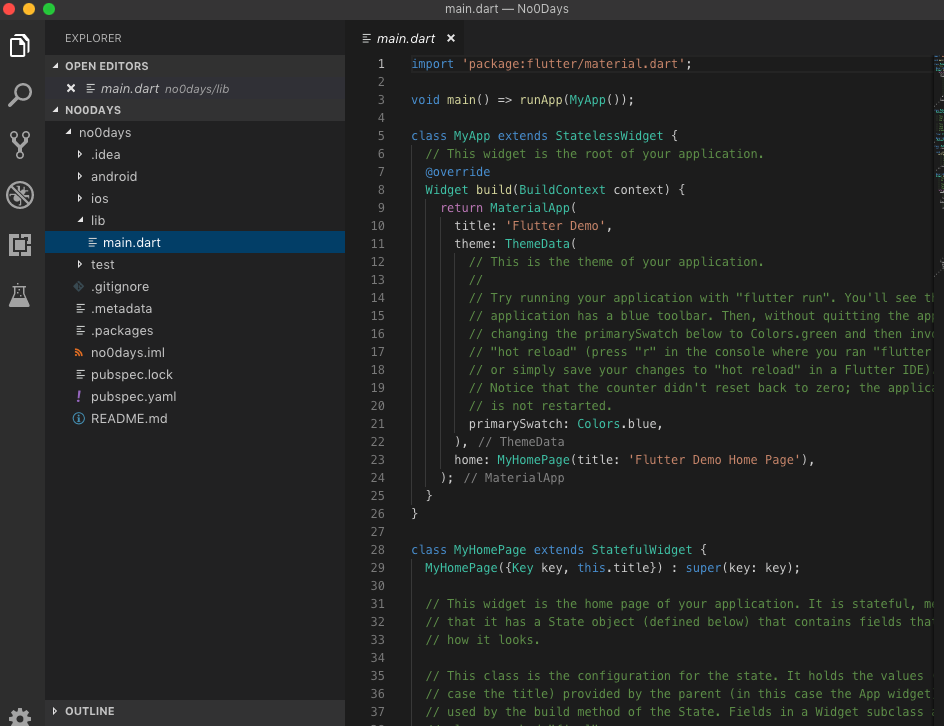
yourappname ” and replaceyourappname with the correct name to get it created. The terminal will autorun flutter doctor after as a health check. Inside Visual Studio Code, you will now see your new project. You will need to be connected to the internet for this step.
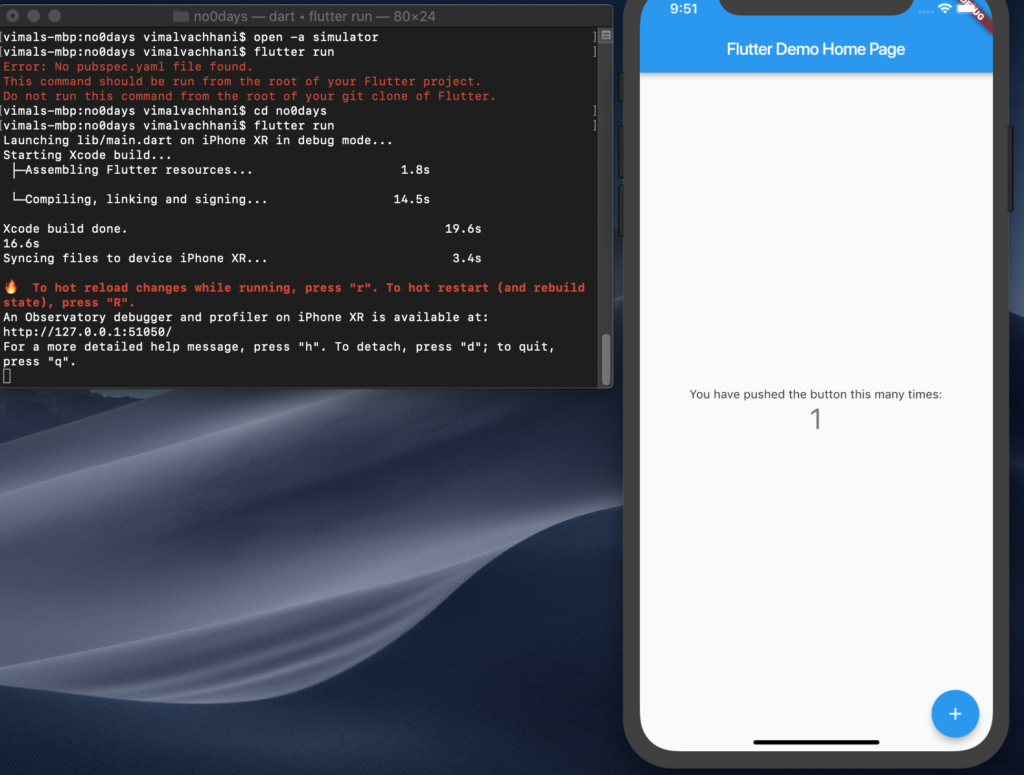
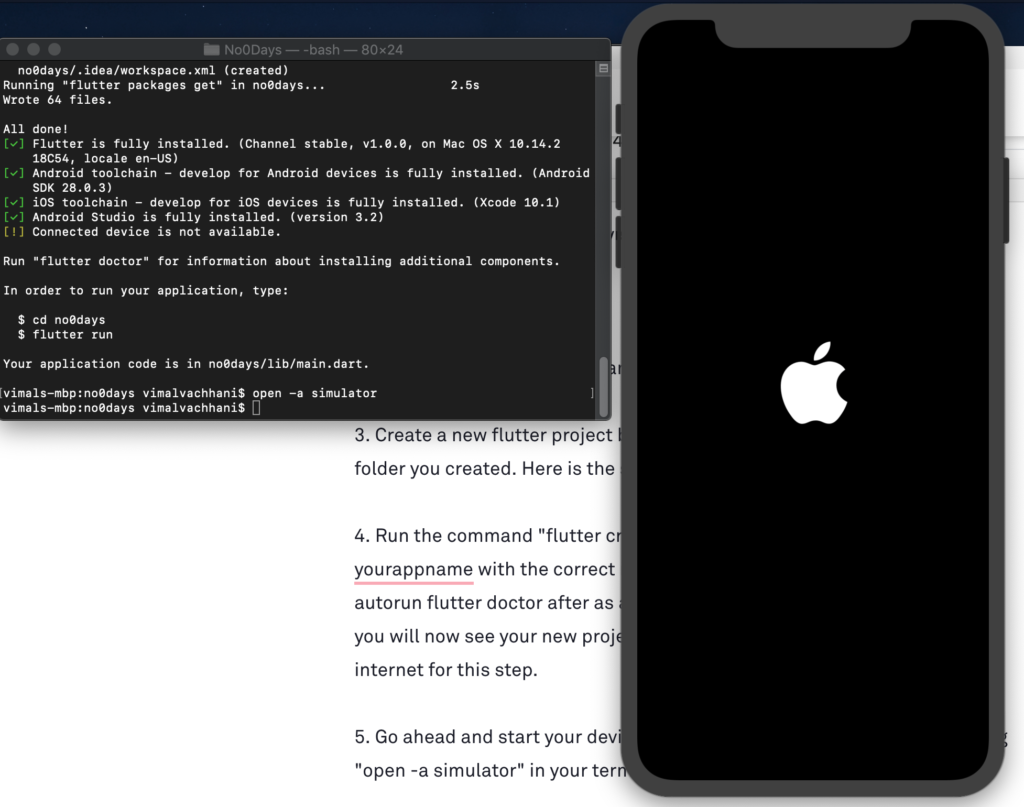
- Go ahead and start your device emulator if you have not already by typing “open -a simulator” in your terminal window.
- Navigate to inside the root folder by going one layer down from where you are in terminal. “cd no0days”, and then run “flutter run” to run your first app. After a few seconds of installing the app, you should now have your first up and running application! The cool thing about Flutter is that it allows you to hot reload the application while developing so you can see your changes instantly. Just hit “r” in the terminal to reload and voila, your app changes appear!